
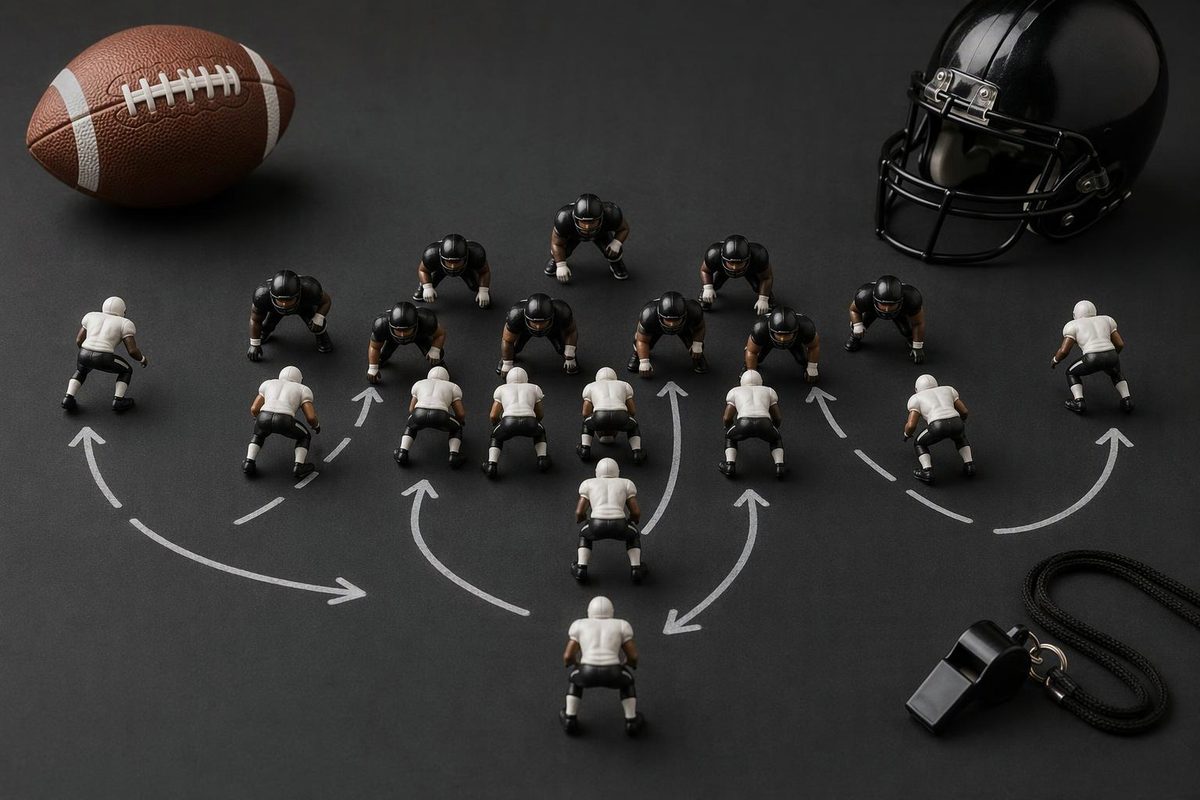
Iso is a running concept, not a single formation. Short for isolation, it pairs an interior run with a lead blocker assigned to a linebacker. The offensive line uses base blocks and combination blocks to handle the other defenders; the ball carrier follows the lead block into the interior of the defense. The traditional home is the I-formation, but Iso also appears in shotgun offenses. Throw Deep Publishing’s scheme breakdown documents both versions.
For a high-school install, separate three things on the board: formation, run entry and linebacker assignment. “I right” tells players where to align. “Iso” tells them the run concept. Your hole number or directional tag identifies the intended entry.
Which formations can run Iso?
Straight I: the clearest starting picture
Put the quarterback under center, the fullback directly behind him and the tailback behind the fullback. A conventional starting point is roughly four yards behind the quarterback for the fullback, with the tailback three yards deeper. Those are reference points, not mandatory Iso depths; adjust them to your exchange and lead-block timing. Football Outsiders’ I-formation explainer, reprinted by CalSci, describes this stacked backfield and its Iso application.
With 21 personnel—two backs, one tight end and two receivers—a simple right-strength setup is:
- Tight end attached to the right tackle, on the line.
- Left receiver on the line, split away from the tackle.
- Right receiver off the line.
- Quarterback, fullback and tailback stacked through the center.
In this call, the tight end establishes the formation’s strength; it does not require every Iso call to run toward him. The lead blocker’s target can change with the direction and defensive front, as Throw Deep Publishing’s weakside and front-specific examples show.
Two-tight-end I: change the surface, keep the backfield
With 22 personnel—two backs, two tight ends and one receiver—you can attach a tight end on each side and put the receiver off the line. The same stacked backfield remains available.
This gives the defense a different blocking surface without changing the basic lead-run relationship. A Gridiron Strategies coaching breakdown describes running Iso primarily from two-tight-end or slot sets, with checks based on the defensive front. Treat those checks as that system’s rules, not universal Iso rules.
Shotgun with a lead blocker
Shotgun Iso still needs two distinct jobs: someone carries the ball, and someone leads onto the designated linebacker. An H-back or tight end can supply that lead role instead of a rostered fullback.
For your install, align the lead player where he can enter the called interior gap without crossing through the quarterback–running back exchange. Set his depth and side through walkthroughs rather than copying the under-center spacing.
The lead role—not the player’s position label—is the important identifier. In a documented 2010 Kansas college example of that role, tight end Tim Biere motioned inward and served as the lead back. The line’s combination block accounted for one linebacker, while Biere blocked the other. KU Sports’ play breakdown shows how the defensive alignment determined those assignments.
Teach the assignment before the collision
Do not teach Iso as “the fullback always blocks the Mike.” Different fronts and directions can leave different linebackers for the lead blocker.
Before the snap, identify:
- The intended entry: A-gap between center and guard, or B-gap between guard and tackle. Use your football gap map consistently.
- The isolated linebacker: the defender assigned to the lead blocker.
- The line’s remaining targets: including the linebacker reached by any combination block.
Coach each position to an observable checkpoint:
| Position | Assignment and cue | Correction to check on film |
|---|---|---|
| Quarterback | Clear the lead path and complete the exchange. | If the fullback hesitates around the QB, revisit footwork before adding speed. |
| Lead blocker | Enter the called lane, locate the assigned linebacker and establish the coached leverage. | If he hits a lineman first, check penetration and assignment before blaming his aiming point. |
| Tailback | Get downhill, then read the lane and lead block. | If he runs into the fullback’s back, restore separation and identify the available exit. |
| Offensive line | Secure first-level defenders and account for the remaining linebackers. | If two blockers chase the isolated linebacker, correct the target declaration. |
The tailback should not follow blindly into a closed lane. The Gridiron Strategies example explicitly allows him to find a seam created by an overpursuing linebacker, including a backside A-gap opening.
A six-rep alignment check
Before team work, use six no-contact walkthrough reps: two against your base front, two with the interior shade changed and two with the designated linebacker moving into a gap.
Pause each rep before the snap. Have the center name the line’s linebacker target, the lead blocker name his target and the tailback point to the entry. Then walk through the exchange and paths.
Advance only when the formation is legal, the exchange path is clear and every box defender has an assignment—or is explicitly identified as unblocked under your scheme. That check tells you more than whether the backs lined up in an I.