
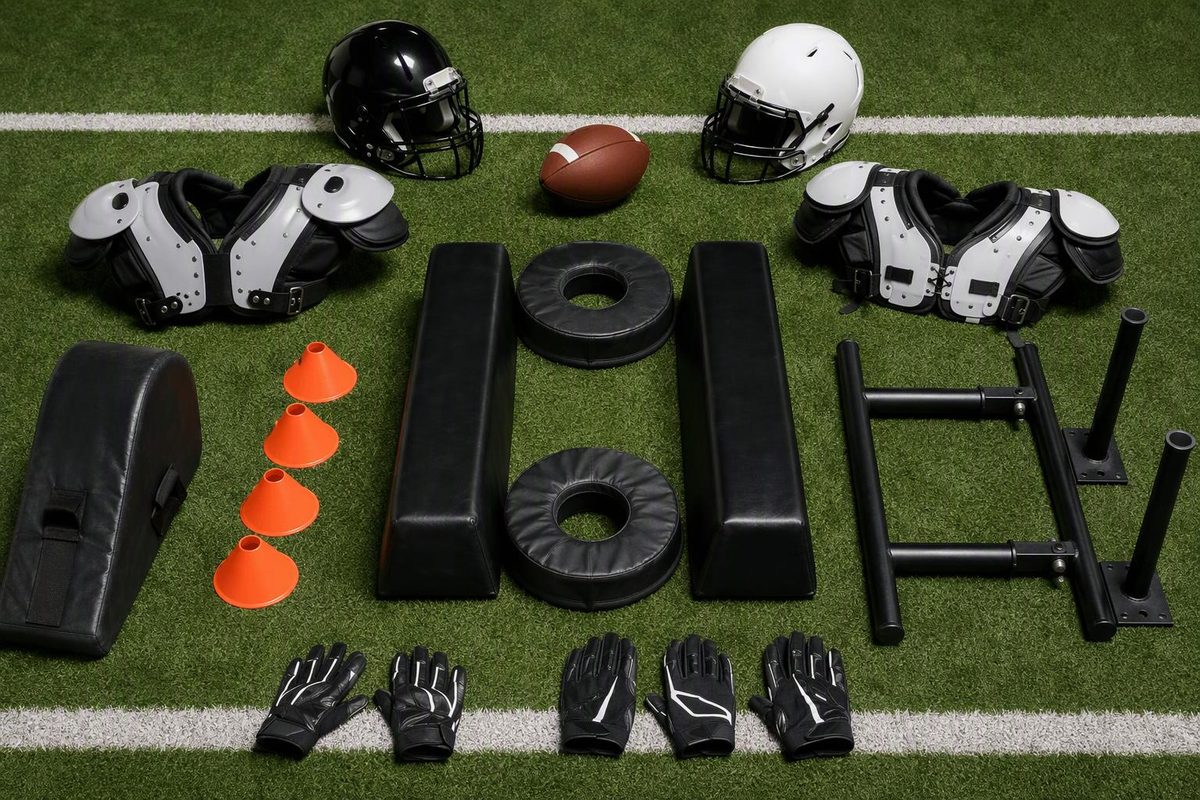
Build your lineman period around an assignment—not just a collision. Offensive linemen need to reach a blocking landmark while staying balanced; defensive linemen need to react to the snap and execute their called gap or rush responsibility.
This high-school or small-college period gives each group 20 minutes: four minutes of stance work, two five-minute position drills and six minutes of assignment transfer. Run OL and DL separately with a coach supervising each group. For two-way players, choose the side that needs attention today rather than compressing both progressions.
Setup and contact limits
After the team warm-up, gather a football, cones and blocking shields. Use pods of three or four players, with working lanes at least five yards apart. Keep waiting players behind the start line and out of finish areas. If one coach supervises multiple lanes, alternate reps so that coach can watch each one.
The spacing and repetitions below are suggested practice prescriptions. They are not permission to exceed your governing body’s contact restrictions.
Start without contact, then use shields. If you add player-to-player fits, assign a noncompetitive speed and a predetermined winner; keep contact above the waist and everyone standing. Those distinctions follow USA Football’s contact progression. Use equipment appropriate to the permitted activity, stop for pain or symptoms, and involve your athletic trainer when needed.
No helmet-first contact or hand strikes to the head. For NFHS high-school football, the 2026 change to Rule 9-4-7 states that no player may use the hands to slap an opponent’s head.
Shared drill: Stance, hold and reset — 4 minutes
Setup: Spread players two yards apart along a line. Use the two-, three- or four-point stance your system requires; do not force every position into the same stance.
Action: Complete six stance entries. Hold each for three seconds, relax, then reset. On the final two, add one assignment-specific step and freeze.
Cue: “Eyes on your key; feet ready to move.” OL players rehearse their cadence responsibility. DL players establish a view of the ball or their coached visual key.
Checkpoint: The player can hold the stance and take the required step without falling forward, rocking backward or resetting a foot first.
Correction: If the first movement is a balance recovery, adjust the stance before adding speed. Change one feature at a time—foot width, stagger or hand pressure—and retest.
Offensive line: Two five-minute drills
1. First two steps into a shield
Setup: Put a shield holder about one yard in front of the blocker. Mark the first-step landmark for one run block from your playbook. Adjust the starting distance so the player can fit the shield without lunging.
Action: Give each lineman six reps: three right and three left. On cadence, take the first two steps, fit both hands to the shield’s chest area and move it forward for two short steps. Whistle and reset; the holder yields without turning the rep into a contest.
This adapts the stance-to-step-to-shield sequence in Youth Football Online’s offensive line progression, using your scheme’s landmarks rather than one universal step.
Cue: “Step to the landmark; bring your feet to your hands.”
Checkpoint: The second foot arrives beneath the player before he tries to move the shield. Hands fit inside, eyes remain up and the blocker stays balanced.
Correction: If he reaches and leaves his feet behind, remove the drive portion. Repeat the two-step fit, freeze, then restore movement.
For a fuller teaching sequence, use the blocking fundamentals progression.
2. Pass-set mirror
Setup: Mark a four-yard-wide lane. Partners face each other about one yard apart. Put a cone behind the blocker at your offense’s quarterback launch point; it identifies what the blocker is protecting, not a finish target.
Action: Complete four four-second reps per blocker. The partner moves laterally at controlled speed, making one change of direction per rep. The blocker sets and mirrors without contact. Swap roles after each rep. This isolates footwork; it does not reproduce a full pass rush.
Cue: “Move your feet; keep your body under control.”
Checkpoint: The blocker stays between the partner and the launch-point cone without crossing his feet, clicking his heels together or reaching with his shoulders.
Correction: Shorten the partner’s movement if the blocker loses his base. Restore width only after he can change direction in balance. Match the initial set to your protection: Jerry Campbell’s pass-protection guidance emphasizes that the set depends on the defender’s alignment and the passing spot.
Defensive line: Two five-minute drills
1. Ball get-off into a dip-and-rip
Setup: Place a coach with the football where every player can see it. Mark two lanes, each with a shield holder approximately one yard ahead and a finish cone three yards beyond. Start on air before introducing the shield.
Action: Give each defender six reps, three escaping right and three left. Move only when the ball moves. Take the called first step, dip the shoulder beside the shield, rip the arm nearest the shield upward past its edge and bring the feet through. Stop at the cone—no tackle finish. The holder stays in place; there is no strike back at the defender.
This uses the ball-movement trigger and dip-and-rip sequence from Youth Football Online’s defensive line progression.
Cue: “Ball, step, dip, rip—feet through.”
Checkpoint: The defender stays still through voice cues, then clears the shield with his hips and feet rather than only swinging an arm.
Correction: If he stands upright or turns sideways, remove the shield and rehearse the escape slowly. Teach the movement here; use it in team periods only when it fits the assignment.
2. Called-gap path
Setup: Mark an offensive line with cones at your normal splits. Identify the defender’s alignment and assigned gap. Place a finish cone three yards along the called movement path.
Action: Complete six reps on air, alternating two movement calls already installed in your defense. Before each snap, the defender states his alignment and destination. On ball movement, execute the call and stop at the finish cone.
Cue: “Know the gap; stay on the called path.”
Checkpoint: The first two steps enter the assigned lane without drifting into a neighboring gap. Grade assignment separately from get-off speed.
Correction: If he takes the shortest route to the cone but misses the gap, move the cone onto the correct path and walk through again. For called DL movements, Jordan Gigli’s clinic notes emphasize staying on the assigned path. This on-air drill rehearses the initial path; block and ball reactions come next.
Use the defensive lineman progression when block reactions or rush lanes need a longer period.
Finish: Assignment transfer — 6 minutes
Give each player four controlled reps against a shield holder. Use one installed run concept—not a new scheme.
- OL: Change the represented defensive alignment. Have the blocker name his assignment, take the coached steps on cadence, fit the shield and freeze.
- DL: Script the shield holder’s initial blocking step, beginning on ball movement. Have the defender name his responsibility, get off on the snap, react to that step and finish in the coached gap position. Predetermine the defender’s successful fit; do not compete.
Grade three things: correct assignment, correct first two steps, balanced finish. Film from a clear angle outside the working lane if staff coverage permits. If the assignment is wrong, reteach the call. If the feet are wrong, return to the step drill. If balance fails, reduce speed before adding resistance.