
Build your linebacker period around decisions: read a key, move to the assignment, then find the ball. Use these five drills for a high school or small-college group of four to six players. The spacing and rep counts below are suggested practice prescriptions; adjust them to your personnel and defensive rules.
Before starting, name the linebacker’s alignment, primary key, run responsibility and coverage job. A pull does not give every linebacker the same assignment, and a coverage drop is not simply a race to a cone. Use your installed linebacker assignments and reads.
Organize the 20-minute period
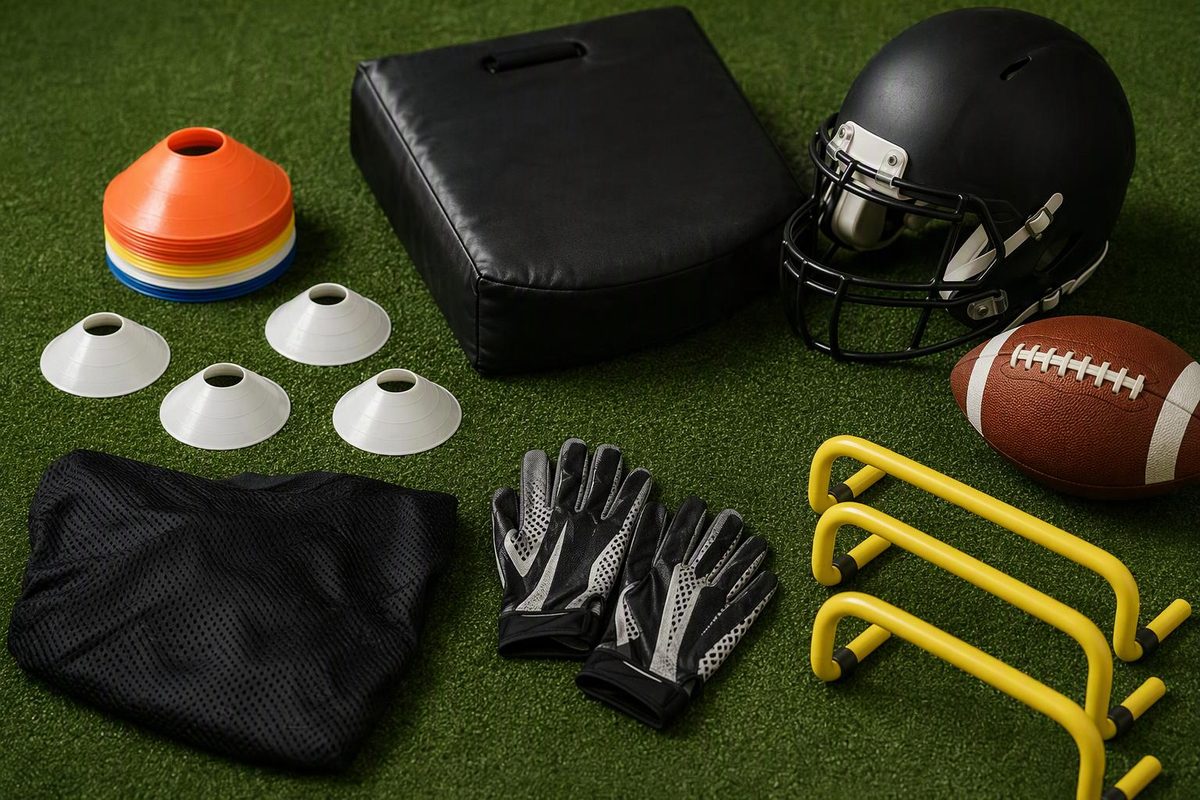
Warm up the players, explain the drills and pre-mark the work areas before the clock starts. Use eight cones, two footballs, one hand shield and one soft upright bag. Run one active rep at a time, with waiting players outside the finish area. Rotate players through the offensive roles.
| Time | Drill | Target per linebacker |
|---|---|---|
| 0–2 minutes | Stance and two-step freeze | 2 reps |
| 2–6 minutes | Key, shuffle and fit | 4 reps |
| 6–10 minutes | Shield fit and release | 4 reps, alternating sides |
| 10–15 minutes | Track around an obstruction | 4 reps |
| 15–20 minutes | Zone drop, locate and break | 4 reps, alternating sides |
Treat these as targets, not quotas: corrections and transitions count against the clock. Keep the first, second and fifth drills non-contact. The third uses shield contact only; the fourth ends with a light touch, not a tackle. Do not turn the period into live contact to meet a rep target. USA Football’s Levels of Contact separates no-contact work, soft-surface bag contact and player-contact progressions. Follow your program’s equipment and contact requirements.
1. Stance and two-step freeze
Setup: Put a linebacker at his installed depth, facing a teammate acting as the offensive key. Mark two short movement lanes, one left and one right, with cones two yards from the linebacker.
Action: The key takes a deliberate run-block step left or right. The linebacker makes the first two steps of your taught read-and-fit technique, then freezes. Reset rather than continuing into a sprint.
Cue: “Balanced stance; move without standing up.” Ask the player to name the key’s movement before resetting.
Checkpoint: For these short read steps, the linebacker should retain a usable base—not crossed feet, heels together or a tall posture.
Correction: If he rocks backward before moving forward, shorten the first step and check his starting balance. If he guesses the direction, vary the key’s timing. Do not use a predictable left-right sequence.
2. Key, shuffle and fit
Setup: Mark a line of scrimmage and the assigned run gaps. Use two teammates as guards and one as a back, with the linebacker at his normal depth. Identify which guard or combined guard-back picture he must read. Review the gap map and ownership if players confuse alignment with responsibility.
Action: Script three pictures, then mix them:
- A run-block picture toward the linebacker’s assigned gap.
- A pull with backfield action that initially goes the other way.
- A pass-set picture leading into his coverage responsibility.
The linebacker reads the line action, confirms the backfield picture and executes your called response. End run reps with a freeze in the fit; end pass reps after the initial drop steps. No blocking or tackling occurs.
Cue: “Key first; confirm the ball.” Guard-and-back reads give players information beyond backfield movement alone, particularly against misdirection. vIQtory’s triangle-read teaching
Checkpoint: Can the linebacker explain what triggered his movement and name the responsibility he reached?
Correction: If he chases the back’s first step, repeat the same blocking picture with different backfield action. If he crosses his feet during a short lateral scrape, reduce the distance and rehearse step-replace movement before restoring the complete read. This checkpoint applies to the short shuffle, not a crossover run used to cover more ground.
3. Shield fit and release
Setup: A trained holder braces a shield against the torso. Start the linebacker within arm’s reach in a balanced, staggered base. Place an exit cone one yard to the assigned escape side.
Action: The linebacker fits his hands to the shield, presses to create separation, then releases around the designated side. The holder supplies steady, light resistance—no charge, chase or surprise shove. Finish square and balanced at the cone.
Hand contact to the chest-pad area, separation and a deliberate disengagement are components of linebacker block-defeat teaching. This drill isolates those pieces rather than adding a collision. vIQtory’s block-destruction progression
Cue: “Hands first; separate; clear to your gap.” Keep the head out of the contact.
Checkpoint: The player must release to the assigned side without falling forward or spinning away from the play.
Correction: If he wraps the shield and gets stuck, reset the hand fit. If he ducks around it immediately, require visible separation before the release.
4. Track around an obstruction
Setup: Make a channel six yards wide and eight yards long. Put a soft upright bag near the middle. Start the runner at one end and the linebacker at the other, with room beyond both ends to decelerate. Declare which side the linebacker must protect and where his defensive help would be.
Action: The runner attacks either side of the bag and may make one cut. The linebacker closes space while maintaining the assigned leverage: stay between the runner and the side he must protect, leaving the path toward help available. Finish with a light touch to the near hip; no shove, wrap or takedown. Start at a walk-through pace and increase speed only while both players can slow down before the touch.
Cue: “Find the open path; protect your side.” Do not let the drill become an isolated chase with no assignment.
Checkpoint: Does the linebacker adjust to the runner, or commit around the bag before the runner chooses?
Correction: If he guesses, let the runner delay the cut. If the finish becomes uncontrolled, return to walking speed and finish with a no-contact freeze. USA Football’s Andy Ryland recommends variable spaces and obstructions to make tracking drills involve genuine decisions, rather than rehearsed paths. Tracking drill-design guidance
5. Zone drop, locate and break
Setup: Place a coach as quarterback four to five yards in front of the linebacker. Start a receiver approximately 10–12 yards downfield and five to seven yards outside him. Mark the landmark for one installed zone coverage.
Action: On a pass cue, the linebacker opens toward his responsibility, locates the receiver and drops underneath the relevant threat. The receiver then moves inside or outside within that zone. The linebacker adjusts, reconnects his eyes to the quarterback and breaks on a throw into his zone. Keep the receiver non-contact.
This adapts the drop, threat-location, drift and ball-break sequence described in USA Football’s Panthers drill; your coverage determines the landmark and how long to carry the receiver. Zone drop and drift drill
Cue: “Locate the threat; see the throw.”
Checkpoint: The linebacker should neither stare at the quarterback while losing the receiver nor chase the receiver beyond his responsibility.
Correction: If he only runs to the cone, change the receiver’s starting split. If he breaks before the throw, include a pump fake while the receiver continues moving.
Record three marks during the period: correct key, correct assignment, controlled finish. Use the earliest failed step to choose the next correction; a missed finish may have started with the wrong read.