
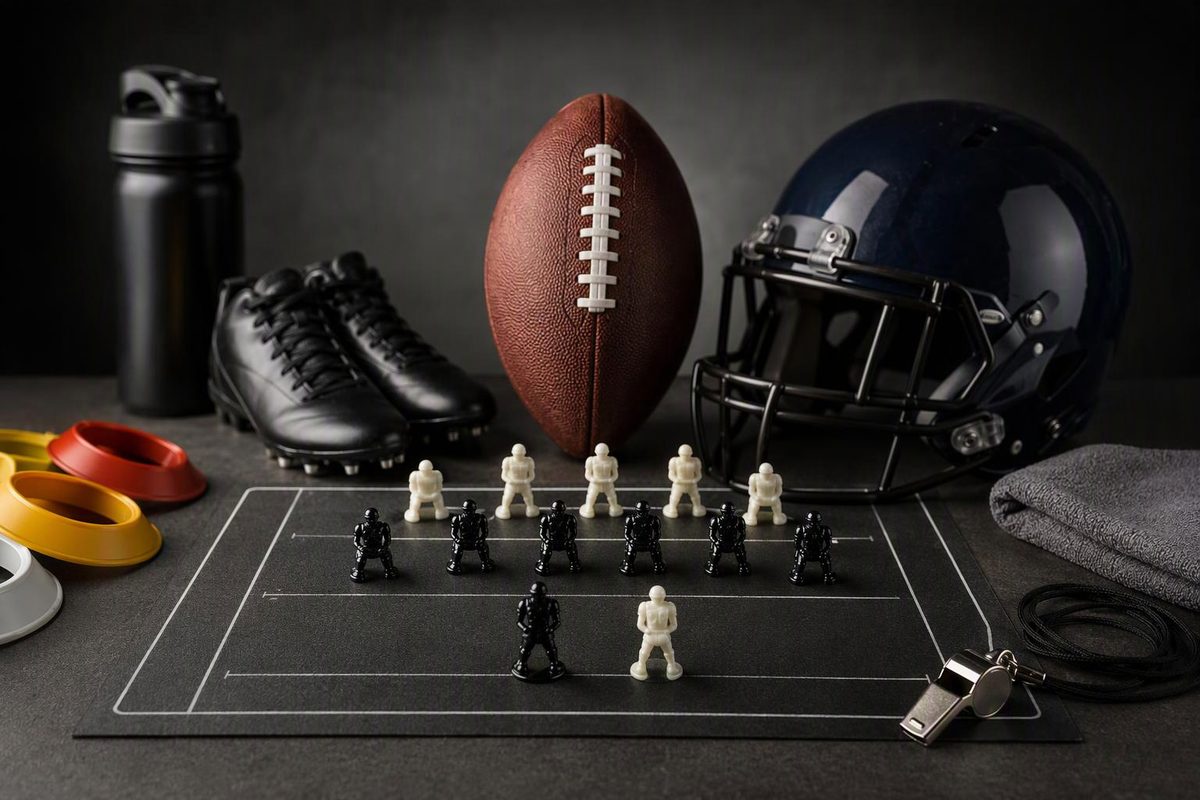
These pistol drills give high school and small-college quarterbacks, running backs and centers a focused backfield period: catch the snap, preserve the runner’s track, complete the exchange and finish the assignment. Start with one installed run to each side—not the entire playbook.
Pistol describes the backfield alignment: the quarterback takes a shortened shotgun snap with the running back directly behind him. It does not require a read-option play; called handoffs and play-action belong in the period too. This formation breakdown makes that distinction.
Set the alignment and exchange rules
Equipment: Two footballs, six flat markers and one receiver for the final drill. Use one center–QB–RB unit per lane. Start with 10 yards between lane centerlines; widen that spacing if the installed run or keep paths overlap. Keep waiting players outside all running paths. Use one active throwing lane for the final drill, with the throwing corridor and space beyond the receiver clear.
For this progression, start the QB 4 yards behind the line of scrimmage and the RB 7 yards behind it, both centered on the ball. Those are starting marks, not mandatory depths. Use your installed alignment if different, and keep it consistent through the period. Mitchell Kleinschrodt’s community-college teaching resource uses a 4-yard pistol QB depth and separates stance, footwork, mesh—the QB–RB exchange—and decision into distinct teaching pieces. See the published clinic description.
Mark the RB’s aiming point at the line of scrimmage and the QB’s opening-step position during a walk-through. Footwork must fit the play: Dan Werner’s college-level pistol demonstration distinguishes clearing the runner’s path on inside zone from reversing out on gap schemes. Don’t apply one turn to every call. Pistol footwork demonstration
Run this period without blocking, tackling or contact with a read defender. Begin at walk-through speed; increase tempo only while exchanges remain controlled. USA Football’s Levels of Contact guidance supports progressing fundamentals before full contact.
The times below include brief corrections. Rep targets are per unit; don’t rush a faulty exchange to meet the clock.
1. Snap, secure, open — 3 minutes
Setup: Center and QB at their marked depths. RB watches from outside the lane. A coach stands beside the QB, clear of his feet.
Action: Take six snaps: three with the installed footwork for the right-side run, three for the left. The QB secures the snap with both hands, moves to the opening-step mark and freezes before presenting the ball for an exchange.
Cue: “Secure, then present.”
Checkpoint: The coach should see control of the football before the QB extends it. Check whether the opening step lands on the same mark each time.
Correction: If the QB reaches toward the mesh before controlling the snap, remove the opening step for two reps. If snaps repeatedly force a reach, work the center’s delivery separately rather than moving the QB’s starting mark after every miss.
2. Called handoff on a fixed track — 5 minutes
Setup: Add the RB. Keep the aiming-point marker at the line and place a finish marker 5 yards beyond it.
Action: Complete eight called handoffs, four each direction. The RB follows the installed first steps and presses the aiming point. The QB clears the path and places the ball into the receiving pocket. The RB secures it and runs through the finish marker. The QB carries out the installed fake.
Cue: “Run the track; don’t chase the ball.”
The RB’s arm nearest the QB should be on top of the receiving pocket. On a called give, the runner closes over the placed ball rather than grabbing it from the quarterback. Youth Football Online also emphasizes maintaining the runner’s path and securing the ball with two hands through traffic. Handoff coaching points
Checkpoint: Watch from behind the RB. Does he bend toward the QB before reaching his aiming point? Does the ball strike an elbow instead of entering the pocket?
Correction: Walk the same exchange again. Check the RB’s first steps, the QB’s position and the receiving pocket. Don’t move the aiming point simply to accommodate an awkward delivery.
3. Predetermined give and pull — 4 minutes
Setup: Use this drill if you have an installed read-option exchange. Keep the same alignment and track. Before each snap, announce either “give” or “pull.” There is no defensive read yet.
Action: Run eight reps: two gives and two pulls in each direction. On a pull, the QB retains and secures the ball, then exits along the installed keep path; the RB continues his empty-handed run through the finish marker. On a give, the RB secures the ball and the QB finishes his fake.
Cue: “One decision, no wrestling.”
Checkpoint: On gives, possession transfers cleanly. On pulls, the RB does not tug the ball or stop his feet. Use the staff’s installed mesh length and decision deadline rather than adding an extra ride to rescue a late decision.
Correction: If both players fight for the ball, return to a slow, predetermined pull. Rehearse the staff’s release-and-clamp rules before increasing speed.
No read option installed? Repeat eight called handoffs, four each direction, emphasizing both players’ finishes.
4. Read-defender reaction — 4 minutes
Setup: Use this drill only if your offense runs zone read. Put a coach at the installed backside read-defender location, outside both exit paths. Explain two unmistakable reactions before starting.
Action: Run eight snaps, four each direction. The coach either moves down the line toward the RB’s path or stays outside to account for the QB, stopping short of the runners. For this basic backside-end read, chase means pull; stay home means give. The QB watches the assigned defender through the mesh—not the football. Zone-read teaching and drill progression
Cue: “Name the key; read his movement.”
Checkpoint: Ask the QB to identify the read defender before the snap. Afterward, grade the decision separately from the exchange. A correct read with a loose ball is still an unsuccessful rep.
Correction: If the QB guesses, exaggerate the coach’s two reactions. Save ambiguous end play and scrape exchanges—when a linebacker loops outside as the end attacks the run—for a later period.
No zone read installed? Use these four minutes for mixed right/left called handoffs instead.
5. Run action to a throwing base — 4 minutes
Setup: Remove the read coach and stop activity in adjacent lanes that could cross the throwing corridor. Place a receiver approximately 10 yards beyond the line and 8 yards outside the ball, away from the RB’s finish path. Choose one installed play-action pass.
Action: Complete six reps, three each direction. The QB and RB reproduce that play’s run action. The QB retains the ball, transitions into the prescribed drop or launch point and throws to the stationary receiver. The RB finishes the fake, then walks through his installed protection or release assignment without contact. Reset only after the receiver and ball are clear.
Cue: “Same run action, then find the base.”
Checkpoint: Compare the first steps with the actual run. Look for an early RB slowdown, shortened fake or QB throwing before his feet are organized.
Correction: Remove the throw for one rep. Restore the fake and footwork before adding the receiver back. Extend this work with the football passing-drill progression.
Chart what needs the next rep
Record four items for each unit: snap control, runner track, exchange and finish. Add a separate decision grade for zone-read reps. Film a few exchanges from behind the RB to check path and alignment, then from the side to check timing, keeping the camera operator outside all exit paths. Before team period, repeat the failed component at reduced speed—not the whole sequence by default.